

I got the idea from the Disney website. They have instructions on there for how to make the lanterns themselves but don't give clear direction on how to make them into fairy lights. Therefore I've had to work it out by trial and error and have written up how I did it so you can make them yourself, should you wish to :)
So grab yourself a beverage of your choice (mine was green tea) and get making!

- Firstly, you need to download the lantern template from the Disney website:find it here.
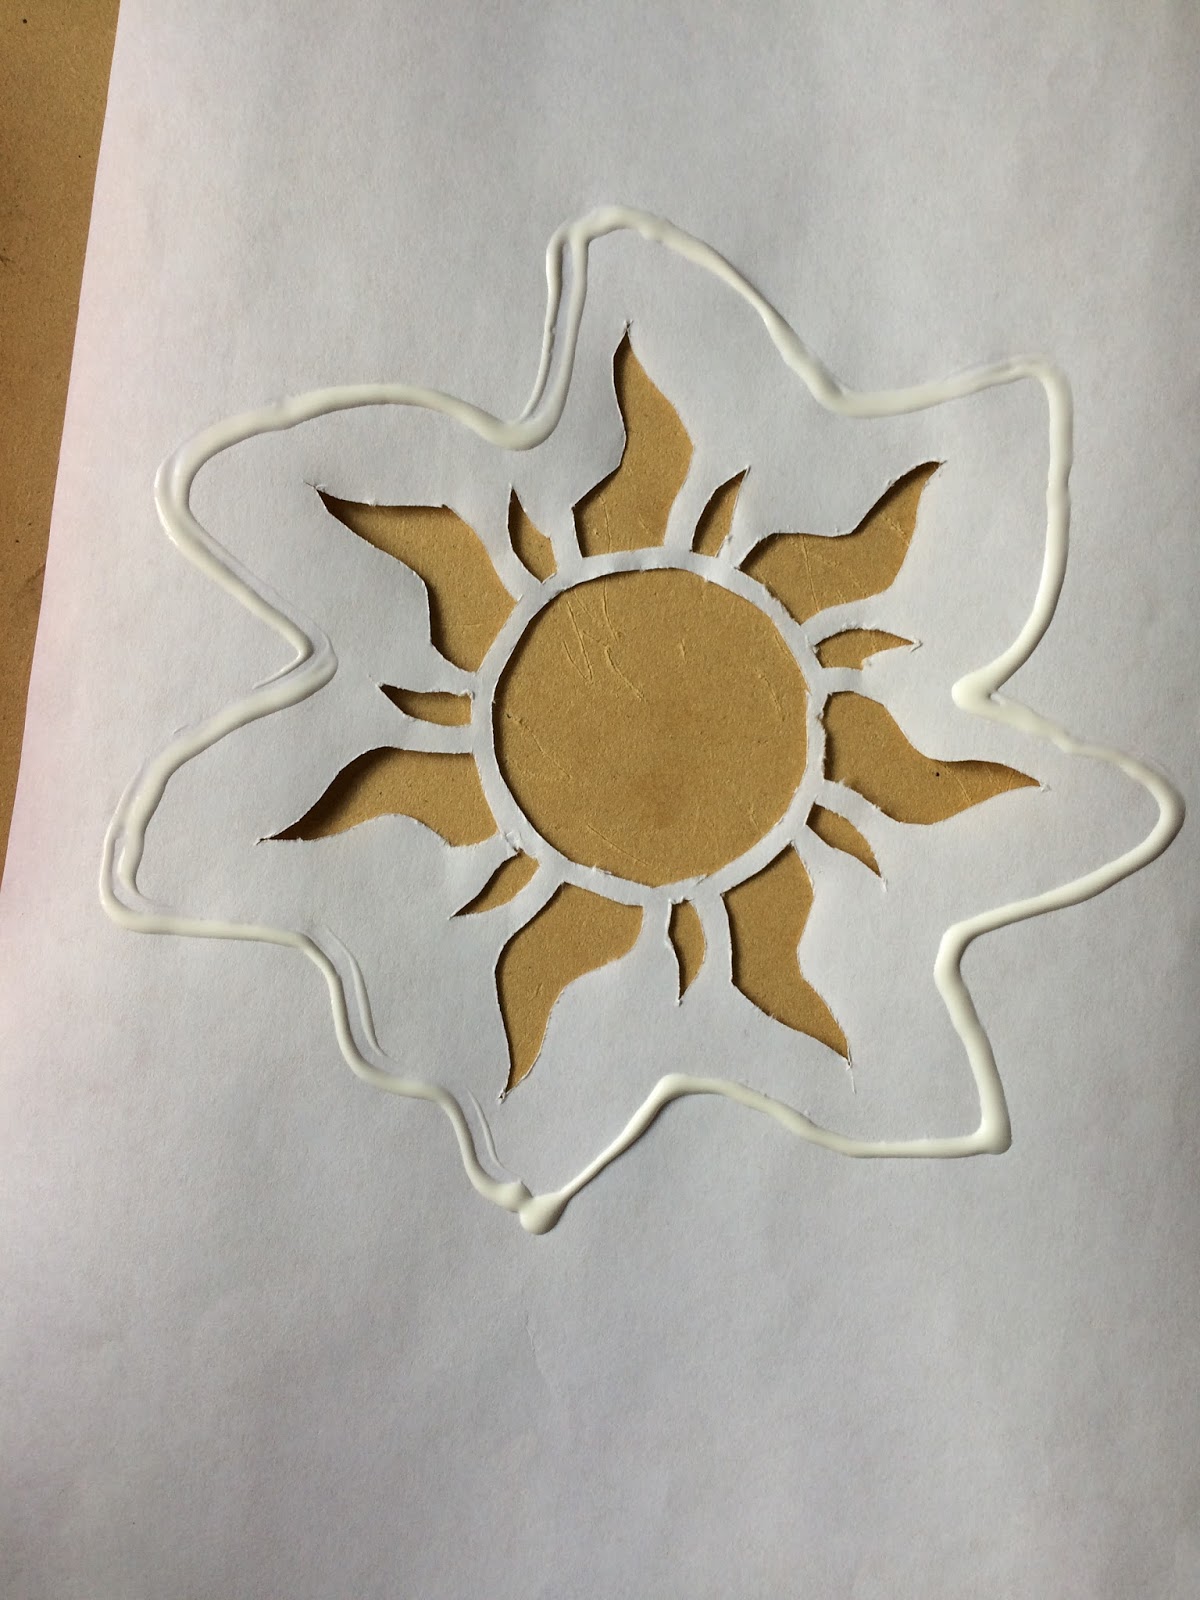
- Once you've printed it out, you're going to need to cut out the sun shape from the centre of the page. As it's quite delicate, I found that scissors wouldn't be very practical so I placed a piece of wood on my desk and used a Stanley knife to cut out the shape. You could use any kind of craft knife or small scissors.


3. Cut out a rectangular shape out of orange tissue paper and glue this to the back of the paper - so that the sun appears to be orange from the front. I folded my tissue paper in two so make the colour darker but make sure you don't make it much thicker than this as you want the light to be able to shine through - like a stained glass window.


4. Cut of the edges of the piece of paper, as marked. Using a glue stick, fold the paper round and stick down the indented edge on the inside to form a cylinder shaped lantern.

5. At this point you can use your lantern on it's own by placing a battery operated candle on a flat surface and then sitting your lantern over the top of it.

6. If you wish to add them to fairy lights then you're going to need to strengthen the top of the lanterns. I did so by cutting up a wrapping paper tube (any cardboard tube, be it loo roll or kitchen roll would be fine). I then glued two of these strips to the inside of the lanterns right at the top.


7. Next, you're going to need to make two holes: one on each side of the lantern, about a centimetre from the top. I used a bradawl (nope, I had no idea what this was either until my dad recommend it as the best tool for the job!) to make the holes in mine. Now repeat the above steps to make more lanterns. I made 6 in total.

8. I then used clear cable ties to attach the lanterns to a string of clear fairy lights. Make sure there is a light in the centre of each lantern and space the lanterns out equally. A long section of the cable tie will be sticking out so you'll need to trim it down.


 |
| like so! |
9. Check your lights work and then hang them up wherever you want to display them!


 |
| preeeetyy |
Thanks so much for reading this! I hope you enjoyed it and that you might have a go at making these yourself!
Love, Katie xxx
No comments:
Post a Comment