Search My Blog

Showing posts with label craft. Show all posts

Friday, 20 January 2017

Memories in a Jar

I'm definitely a very sentimental person and so when I first heard the idea of a 'memory jar' a few years back, I jumped to make one. That was back in 2013 and I really enjoyed it! Basically the idea is to have a nice jar or container of some sort and, as you go through the year, to write down good things that happen to you. This can be anything from a fun day out, to a quote of something funny or lovely that someone said to you... in essence, anything that will be a positive memory to look back on.

This is my 2013 jar. I decorated it, rather messily, with nail varnish! I simply used small scraps of paper to write the memories down on.

I would totally recommend you having a go yourself at keeping a memory jar this year because it gives you a reason to look for the positives in every day. If I haven't written anything in it for a while I find myself looking back over the past few days and trying to think of anything particularly good that has happened - there's always something! Then, at the end of the year when you open it up and read back through all the happy memories from your year you feel fabulous! It's so easy to say 'I've had such a bad year this year!' if there's been a few bad things that have happened to you. However, by looking back through your jar you see that it hasn't all been bad, that there are always things in life to make you smile - even if they are very small things, and that it's worth persevering through the coming year just for those little special moments.

I haven't made a jar for the past couple of years, I'm not really sure why! I probably just forgot to be honest haha. This year I really wanted to make one again so here's how I did it. You can of course decorate your jar in whatever way you want to, but maybe mine will give you a little bit of inspiration. If you do make one, send me a picture - I'd love to see your creations!

I used a very simple, ordinary jam jar which I had lying around the house.

I used washi tape to decorate my lid. I used short sections with crossed over each other until the lid was covered. I tucked each bit under the edges of the lid - it doesn't matter if that bit's messy because no one will see it!

I also used a strip of the same washi tape around the bottom of the jar.
I got way too excited about my Christmas present from my brother this year... a glue gun! I couldn't wait to use it to stick bits onto my jar - you can of course use any kind of craft glue or superglue.
I stuck pink beads and shiny flower thingymajigs round the outside of my jar.
To finish off my jar I glued a bead to the centre of the lid and wrote the year on top in pink sharpie pen.


Once your jar is finished you're going to need some paper and some memories!


Instead of using scraps of plain paper to write my memories on as I did last time, I'm using these coloured sticky notes. This is one of the first memories to go in my jar... definitely the most exciting moment of my year so far!

Just in case you missed it! (anyone who knows me well can tell you that I LOVE this man and so this was quite literally one of the best things ever to happen in the history of ever.)
Because the end of these notelets are sticky, I can fold them up into these cute little parcels. They will look bright and fun in my jar!


Thank you so much for reading this post! Like I said, let me know if you give this a try - it really is a lovely way to focus on the positives in life.

Love,
Katie xxx


Wednesday, 19 October 2016

Tangled Fairy Lights

This week I've been having fun arting and crafting! I've made fairy lights inspired by the Disney film Tangled a.k.a THE BESTEST FILM EVER MADE IN THE HISTORY OF EVER.


I got the idea from the Disney website. They have instructions on there for how to make the lanterns themselves but don't give clear direction on how to make them into fairy lights. Therefore I've had to work it out by trial and error and have written up how I did it so you can make them yourself, should you wish to :)

So grab yourself a beverage of your choice (mine was green tea) and get making!


  1. Firstly, you need to download the lantern template from the Disney website:find it here.
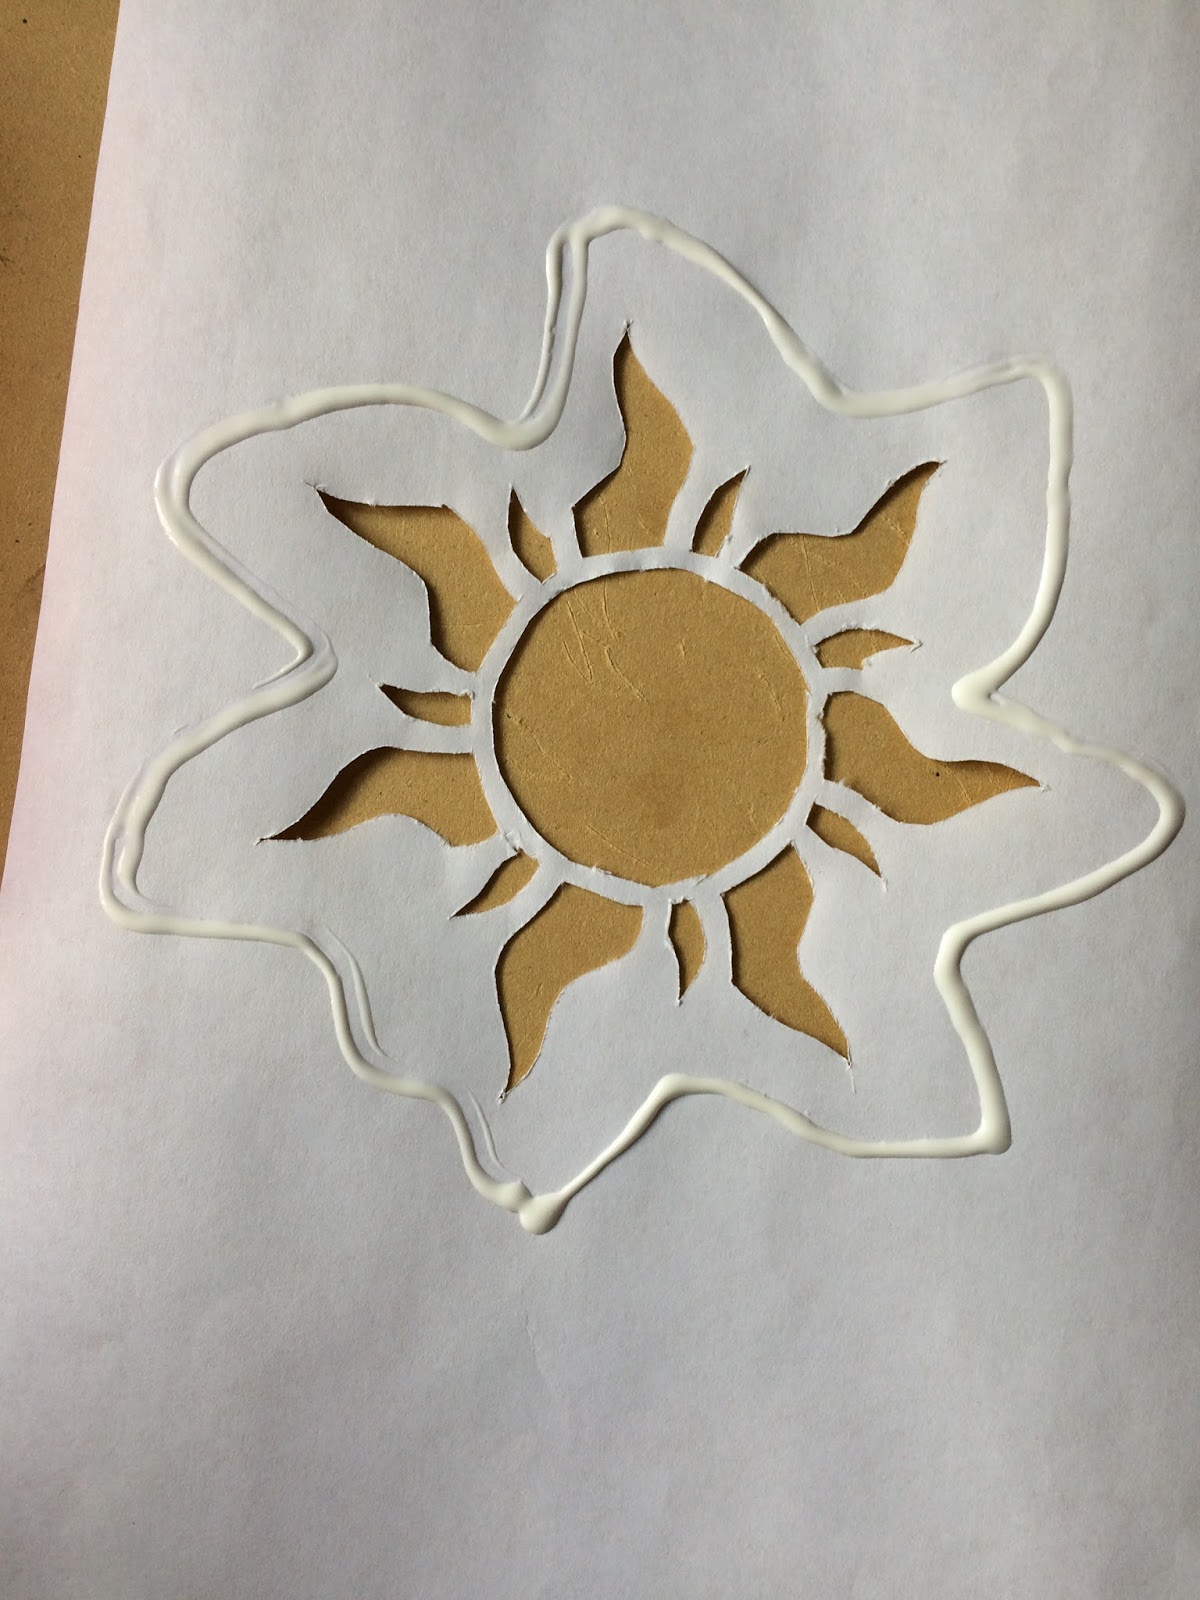
  2. Once you've printed it out, you're going to need to cut out the sun shape from the centre of the page. As it's quite delicate, I found that scissors wouldn't be very practical so I placed a piece of wood on my desk and used a Stanley knife to cut out the shape. You could use any kind of craft knife or small scissors.


3. Cut out a rectangular shape out of orange tissue paper and glue this to the back of the paper - so that the sun appears to be orange from the front. I folded my tissue paper in two so make the colour darker but make sure you don't make it much thicker than this as you want the light to be able to shine through - like a stained glass window.


         4. Cut of the edges of the piece of paper, as marked. Using a glue stick, fold the paper round and stick down the indented edge on the inside to form a cylinder shaped lantern.


5. At this point you can use your lantern on it's own by placing a battery operated candle on a flat surface and then sitting your lantern over the top of it.


6. If you wish to add them to fairy lights then you're going to need to strengthen the top of the lanterns. I did so by cutting up a wrapping paper tube (any cardboard tube, be it loo roll or kitchen roll would be fine). I then glued two of these strips to the inside of the lanterns right at the top.


7. Next, you're going to need to make two holes: one on each side of the lantern, about a centimetre from the top. I used a bradawl (nope, I had no idea what this was either until my dad recommend it as the best tool for the job!) to make the holes in mine. Now repeat the above steps to make more lanterns. I made 6 in total.


8. I then used clear cable ties to attach the lanterns to a string of clear fairy lights. Make sure there is a light in the centre of each lantern and space the lanterns out equally. A long section of the cable tie will be sticking out so you'll need to trim it down.


like so! 


9. Check your lights work and then hang them up wherever you want to display them!


preeeetyy


Thanks so much for reading this! I hope you enjoyed it and that you might have a go at making these yourself!

Love, Katie xxx